⭐⭐⭐⭐⭐ AUSTRALIA’S LARGEST RANGE OF NATURAL STONE PAVERS ⭐⭐⭐⭐⭐
⭐⭐⭐⭐⭐ AUSTRALIA’S LARGEST RANGE OF NATURAL STONE PAVERS ⭐⭐⭐⭐⭐
by Glenn Russell- Stonemason | 4th December 2024 |
Travertine is one of the most used construction materials. It has been used in a wide range of construction projects for centuries. In fact, it was considered the most suitable stone for the construction of temples, amphitheaters, and other ancient monuments in Rome. Many monuments made of this centuries-old stone have stood the test of time. The material is still used for modern construction projects. Thanks to its earthy and natural shades that help people transform their boring interiors into a wonderful wall cladding.
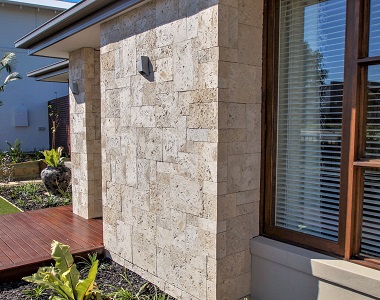
If you would like to use this material for modern construction or wall cladding purposes, you can have the Travertine polished to get a smooth and glossy finish. Currently, the stone is especially recommended for wall cladding and flooring. In addition to the interiors, this stylish cladding material is used for exterior decor purposes. Travertine is an amazing option for paving driveways, walkways, and patios. The stone is extremely versatile, making it an ultimate choice for the following applications:
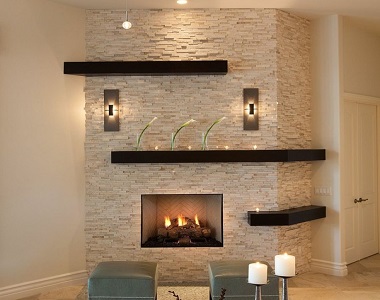
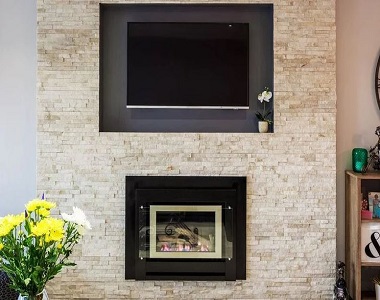
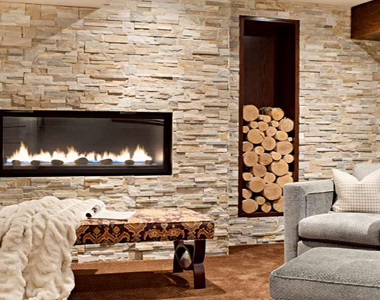
The stone is widely used for indoor installations. It gives a unique and modern touch to your property. You must have seen the travertine wall cladding above and surrounding the fireplace. It is mainly applied to transform the interiors and create a focal point.
Due to its natural and earthy hues, the stone blends well with all types of spaces. You do not need to hire professionals to install travertine pavers or cladding. A few installation tools, right adhesives, and the installation instruction guide are all you need to install this natural stone on your wall or driveway. Let’s have a look at the steps for installing travertine wall cladding on your own.
on the wall. The sealant will take a few hours to dry.
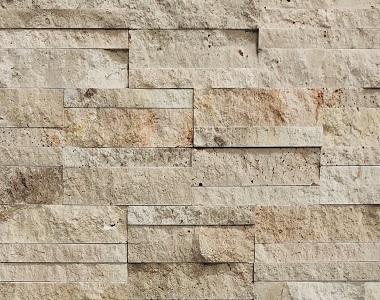
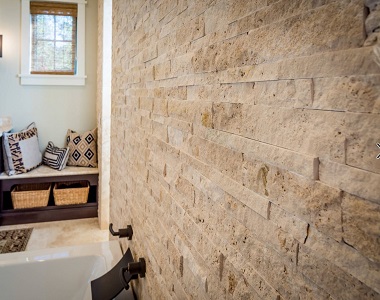
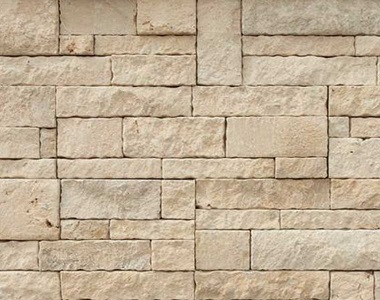
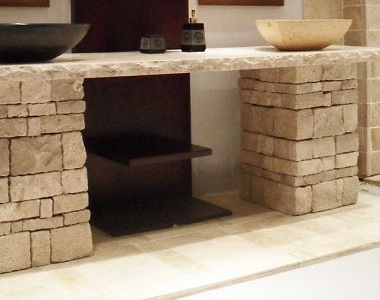
Travertine wall tiles have the potential to add a touch of elegance and sophistication to bathrooms, kitchen, living rooms, exterior space, and nearly anywhere. Made of limestones, this stone can be cut, shaped, and applied to the wall with the right wall cladding equipment. Let’s get to the installation steps.
First things first, you need to inspect the wall where you would like to install this natural stone. Before you start the installation, lay these tiles on the floor in the same way you would like to see it on the wall. Clean the wall with a warm and soapy solution. The area needs to be cleaned thoroughly before you start the application.
For a smooth and proper installation, make sure you take measurements of the entire wall i.e. From top to bottom. The measurement is important to know the number of slabs that will fit the wall. Once you are done taking the measurements, grab a pen, and mark the center of the wall. Just below this center line, you will have to place a board that can support the travertine tiles installed on the upper half portion.
The adhesives you choose to fix the travertine tiles on your wall must be strong enough to secure the tiles against the wall firmly. If you are installing the tiles on your shower wall, then we will highly recommend a thin-set mortar for secure installation. Thin-set mortar is specially used to attach travertine and other stones on the concrete or cement wall.
You can purchase it from the local hardware or retail store. Apply thin-set mortar on the tile and the surface of the wall. Make sure you buy white and other light-colored adhesives so that it does not lead to the tile discoloration.
Once you have applied the adhesives to the wall and tiles, start the installation by attaching the travertine tile to the wall. Press the tiles firmly to the surface. Start the tile installation from the center line, where you had placed the 1×2 board for support. If the tile doesn’t fit in the row or it is larger than other slabs, grab a wet tile saw and cut the tile to get a perfect shape.
Likewise, if the tile is way too small, feel free to make adjustments. Make sure that you install the right size tiles on the wall. Keep installing the tiles on the wall until the upper portion is fully covered.
Allow the thin-set mortar some time to dry. Once you feel it is settled on the wall, remove the board you had placed on the center line gently. Now, you can move to the lower part of the wall. Take measurements of the lower wall. The installation will be similar to the upper portion.
Once the tiles and adhesive have dried completely, apply a sealant to secure it firmly
